Tool Adjustment and Operating Instructions
|
Tool Adjustment and Operating Instructions |
|
| Suggested Overhead Support Method |
|
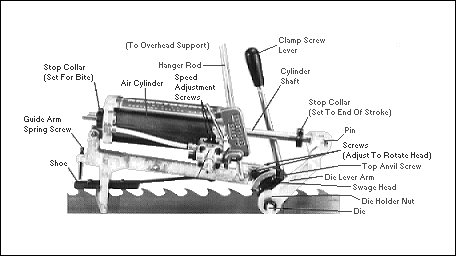
| Place Trolley rail high enough so not to interfere with handling saws (approximately 7 feet). To lift swage up and out of the way when not in use, arrange a small rope and sheave from higher up with end of line and attach to swage loop "A". |
| Detail of Trolley |
|
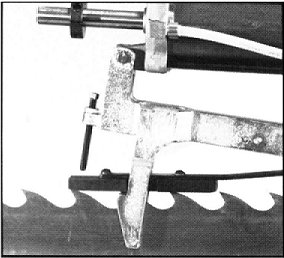
| Setting Anvil to Gauge |
|
|
| Setting Head to Tooth |
|
|
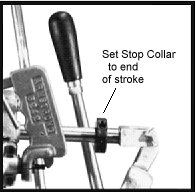
| Setting Die Lever to End of Stroke |
|
|
| WARNING: Avoid contact with the air cylinder shaft when air supply is connected to swage. You are working in a dangerous environment. To minimize risk of injury, keep your work area clean and all tools in good working condition. |
| Setting Stop Collar For Bite |
|
|
| Set Front Guide Arm Spring Screw |
|
|
| MAINTENANCE Armstrong Air Swages require very little maintenance. Regular cleaning is the key to keeping a good, accurate, reliable tool. Swages have a number of parts that are consumed during swaging and need to be replaced. Don't wait until you are having difficulties to replace them.
|
| Long | The long bite die is the mildest die, and produces the smallest kerf. |
| Short | The short bite die is the most frequently used for "average" conditions. |
| Extra Short | The extra short die is the most aggressive, giving the heaviest kerf. |
| Additional Recommendations for Air Swages |
|
|
Copyright(c) 1998-02, Armstrong Mfg. Co., All Rights
Reserved |
new products | publications | equipment |